- Published on
Creating a Garage for my Roomba
- Authors

- Name
- Billy Jacoby
- https://x.com/billyjacoby
Recently I saw a few different posts on Reddit that showed how the OP had turned the dead space underneath their kitchen cabinets into a garage for their roomba. What I was unable to find was a tutorial on how to accomplish this for myself.
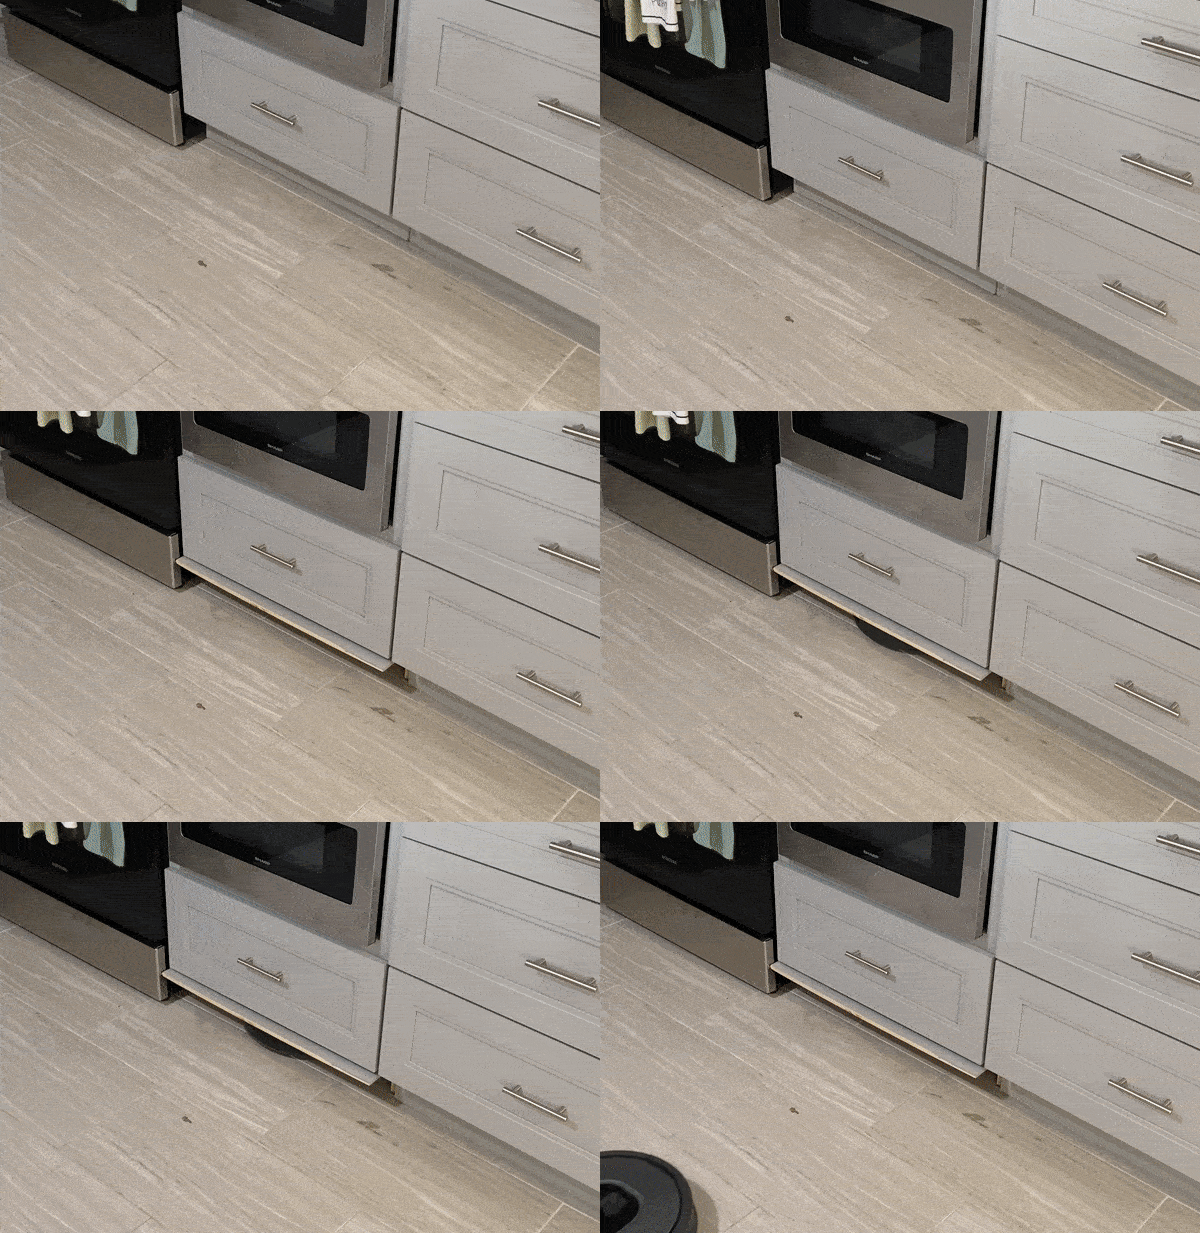
Here is the final product (sped up about 300%):

Hey Siri, start the vacuum
This is the quick rundown of how I built my own under cabinet storage for Gir, my robot vacuum cleaner. I’ve included the bill of materials (amazon associates links) necessary to complete the build. I plan on doing a more thorough write up with all the code and STL files included but for now, here is a quick overview of what I was able to accomplish.
I began with modeling and 3D printng the parts that I though would be necessary in order to move the door up and down. This took quite a bit of trial and error, but was simpler than I expected it to be.
After the parts were complete it was time to program and assemble the electonic components. The parts I finally decided to use are:
To keep things simple I decided to use a single more powerful stepper motor as opposed to one lower powered one on each side. I also tested a variety of different boards for controlling the stepper motor, and the easy driver was by far the simplest and most straight forward.
After getting everything assembled it was time to program the ESP8266. The device will be communicating with my Homeassistant instance in order to know when to open and close the door. When the robot starts a job the door will open, and stay open until its finished. Once the cleaning job is finished the door will close. During the cleaning job, if the collection bin becomes full, the door will close in order to prevent the robot from docking itself so that it’s easier for me to empty the bin.
This was all achieved using a simple pub sub client library and utilizing the (mostly) built in mqtt functionality of home assistant.
The final step was to remove the piece of wood from under the cabinet and re-attach it using hinges. I also opted to take about 1/8″ off from each side of the wood so that it would open and close easier. On most cabinets this piece of wood is fastened with just a couple brad nails and should come off fairly easily. Just give it a tug and you should feel it eventually loosen up and come off. The hinges for this design attached to the top of the door to allow it to open sort of like a traditional garage door.
After the hinge was complete all that was left was to attach the components to the underside of the cabinet, and put Gir in his new home. The placement of the components took some trial and error, but it now opens and closes with about a 95% success rate.
Thanks for reading, and if anyone has any questions anbout the build feel free to reach out to me @billyjacoby on Twitter!